3D & Camera Projection
Image(Screenshot)

Testing
From here i started by adding a cylinder and cube node in the scene and linked both of them separately with a texture. I added a Camera node in the scene and animation it. Also for the end i added a scene node and a ScanlineRender node.
Node Tree

Rendered Scene
Image

For this part the task was for me to add a camera move into the whole of the image. I started by adding a node(Green) that was already made in to the scene and added a cylinder for the image which allowed me to create a long pipe in the center of the scene. then i scaled the shape. Then i duplicated the original Render camera(Green) and renamed it project cam(Red). Then i added a projected3D which allowed me to add the 2nd camera node (Project_Cam2) then i connected it to the cylinder node to the scene node and ScanlinRender node with the rendercam(Green).
Render_Cam (Green)


Project_Cam (Red)


Final Result
Replace Still Image To Animated Image

Walkthrough Video
Node Tree
Top

Bottom

Rendered Image
3D Tracking
V1

V2

From the beginning i had an issue setting up the project with both images (V1) . So i decided to manually re-open both distortion EXR images to make it visible in the scene.


Afterwards i needed to set my settings to match with the scene then i added a copy node and Roto node which for the Roto node i draw out the water and the people in order for me to track the scene without any disruption.


Then i got camera tracking node added after the copy node and then in the camera tracking settings i changed the mask from none to source alpha which then only marked the dots that didn't get masked out from the roto node. Then i tracked it

Now the footage got tracked and clicked on solve which gave me the green dots on the screen then for the rest of the colours (Red dots. orange dots) i deleted them (Delete Unsolve/ Delect Rejected)from the AutoTracks menu.

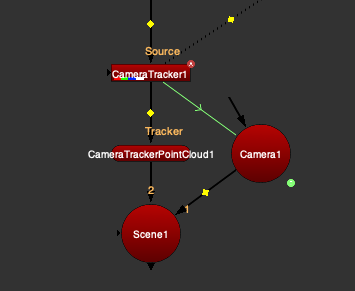
Then i exported the camera menu in CameraTracker from camera to scene and clicked create which gave me 3 nodes (Camera Cloud, Camera1 and Scene1)


For this part i added in a checker board node then i added a card node linked them both. After that i viewed both nodes (card1 node and camera1 node) then clicked the camera1 node and changed the 3D view to the top view then clicked on the card node and placed it next to the tracked dots in the scene. Then i added a Scene node connected to the card node then i copied and pasted the camera node and added a scanlineRender and connected them both.
Part 1

From here i connected the scanlineRender to the RD nodes and merged it with the original footage.
3D Equalizer 4
Beginning of 3D Equalizer
>
_pn.png)
>

<>

From the beginning, in order to open 3D Equalizer i needed to go through this set up. which i searched for XQuartz which opened a text note. Then i went on home, applications, 3DE4 folder and clicked on the program which then allowed me to open 3D Equalizer4.


When the program opened this is what i saw, very complicated set up so i had to close the unnecessary menus and then i opened the preferences, went on input and enabled "option keys sen Alt_R".
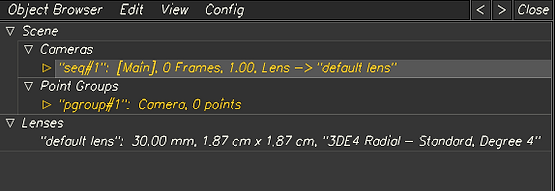


Then i clicked on the yellow title from the cameras menu which opened the attribute editor, i clicked on browse then i opened the image from the folder. Afterwards i doubled clicked on white title from the lenses menu, replaced the right info for the Canon 3.6 x 2.4 cm, focal length 35 mm and pixel aspect back to 1.0 and renamed the identifier.
Understanding The Tools & Techniques


Assignment 2 Plan:
Toy Car Reference

Washing Machine

The plan for the new assignment, i decided to create 2 models. A toy car with a track animated and a washing machine animated. These are the 2 assets that i'm going to model
Toy Car Model Progression



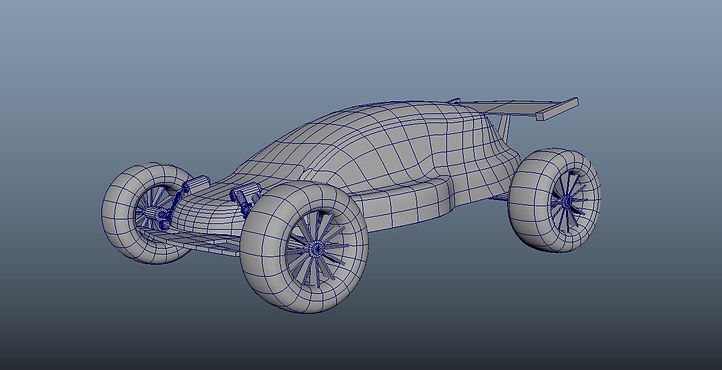

Final Result Render

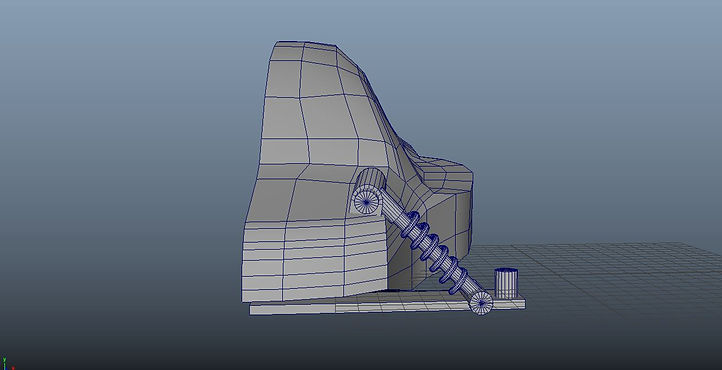
From here these are screenshots of each part of the progression, i worked through this with Maya and collected reference images of toy cars to build my own toy car. I started of by using the polygon plane and extruded it to create the body of the vehicle. Then i created the wheels and the attachments to connect onto the body for the car. Then i did the same method for all parts. However in stead of me modelling everything i duplicated 1 half and placed it on the other side.
Washing Machine Model Progression


From here i did the same method from the first model but used a polygon cube to extrude the body of the machine and then i used a polygon cylinder to create the inside parts and door for the washing machine.
Collaborating Both Models Progression


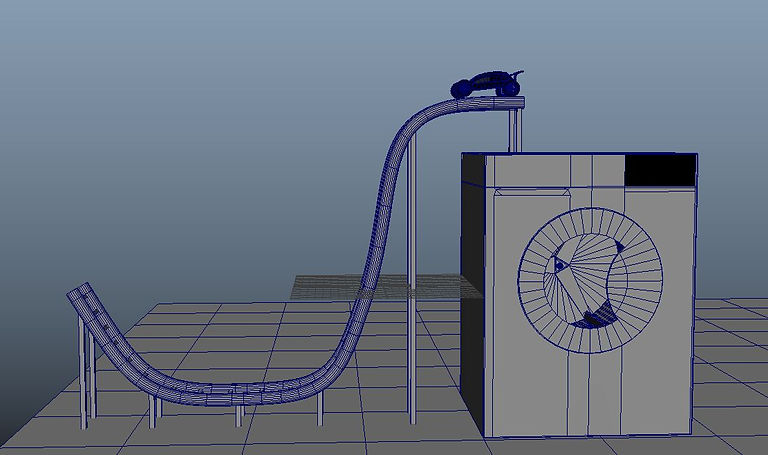


This part i imported both assets that i modeled in one scene. Then i decided to create a track for the car falling down which i animated it falling. i also animated the washing machine shaking.
Preview Of Result

Final Result

Final Result (Video)
For the final project i had issues trying to render this with my software. However it turned out OK but with a little speed because my current scene was animated less time then with the original scene.